


Step-by-Step Guide: How to Paint Laminate Furniture for a Durable Finish
If you’ve been eyeing your laminate furniture and considering a color update, you likely know that painting over this slick surface isn’t as straightforward as it is with wood. To jump straight in—yes, you can revitalize your laminate pieces with paint, but the key to a durable finish that won’t chip or peel lies in the preparation and products you choose. In this step-by-step guide, we’ll walk you through how to paint laminate furniture, from cleaning and priming to the final stroke of the brush, equipping you with the know-how to achieve that impeccable, lasting finish.
Key Takeaways
- The right prep work on laminate furniture is key: clean thoroughly and remove hardware before painting.
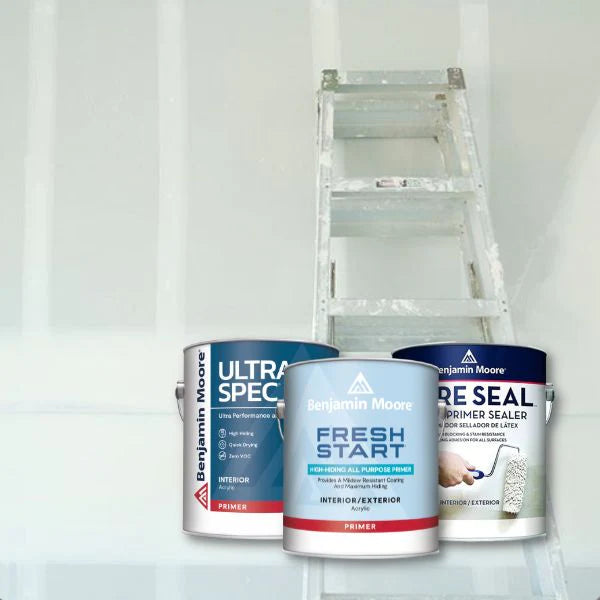
- Choose the correct primer and paint, like INSL-X STIX Primer and ADVANCE Interior Paint, for the best finish and durability on laminate surfaces.
- Patience is crucial: allow primer and each coat of paint to dry completely, and use a topcoat like General Finishes High-Performance Topcoat for extra protection.
Preparing Your Laminate Furniture for Painting
Preparation is the foundation of every great art project, and painting laminate furniture is no different. It’s crucial to ensure that the laminate surface is primed and ready to hold the paint. Without proper preparation, the paint won’t adhere well to the laminate surface, leading to an unsatisfactory finish or even paint peeling off.
So, how do we get our laminate furniture ready for its makeover? It involves cleaning the surface and removing the hardware. Let’s dive into the details.
Cleaning the Surface
Before you unleash your creativity with the paint, it’s essential to clean the laminate surface thoroughly. Why? Any dirt, grease, or residue could potentially disrupt the paint adhesion and compromise the finish quality. Imagine putting in all that effort, only to have bumps and lumps ruining your smooth finish!
Kickstart your project by using a mild cleaner or sugar soap with a wet rag to clean the laminate furniture. This process will help remove any dirt, grease, and residue, ensuring that the surface is as smooth as a blank canvas ready for your artwork. Remember, a clean surface is a gateway to a professional-looking finish!
Removing Hardware and Accessories
Once your furniture is squeaky clean, the next step is to remove any knobs, handles, and hinges. Removing hardware before painting not only aids in achieving a professional finish but also prevents paint accumulation around the fixtures. Plus, it ensures that you won’t damage these pieces during the painting process.
You can use a drill or a screwdriver to remove the hardware as part of your DIY projects. Make sure to keep the removed pieces in a secure location and label them if necessary. This will ensure you can return each piece to its original position after painting.
Now, with the hardware removed and the entire surface cleaned, your laminate furniture is ready to be transformed!

Choosing the Right Primer and Paint for Laminate Furniture
Selecting the right primer and paint for your laminate furniture is a critical part of the process. Remember, not all paints are created equal. Some are specifically designed to paint laminate surfaces, ensuring a smooth and long-lasting finish.
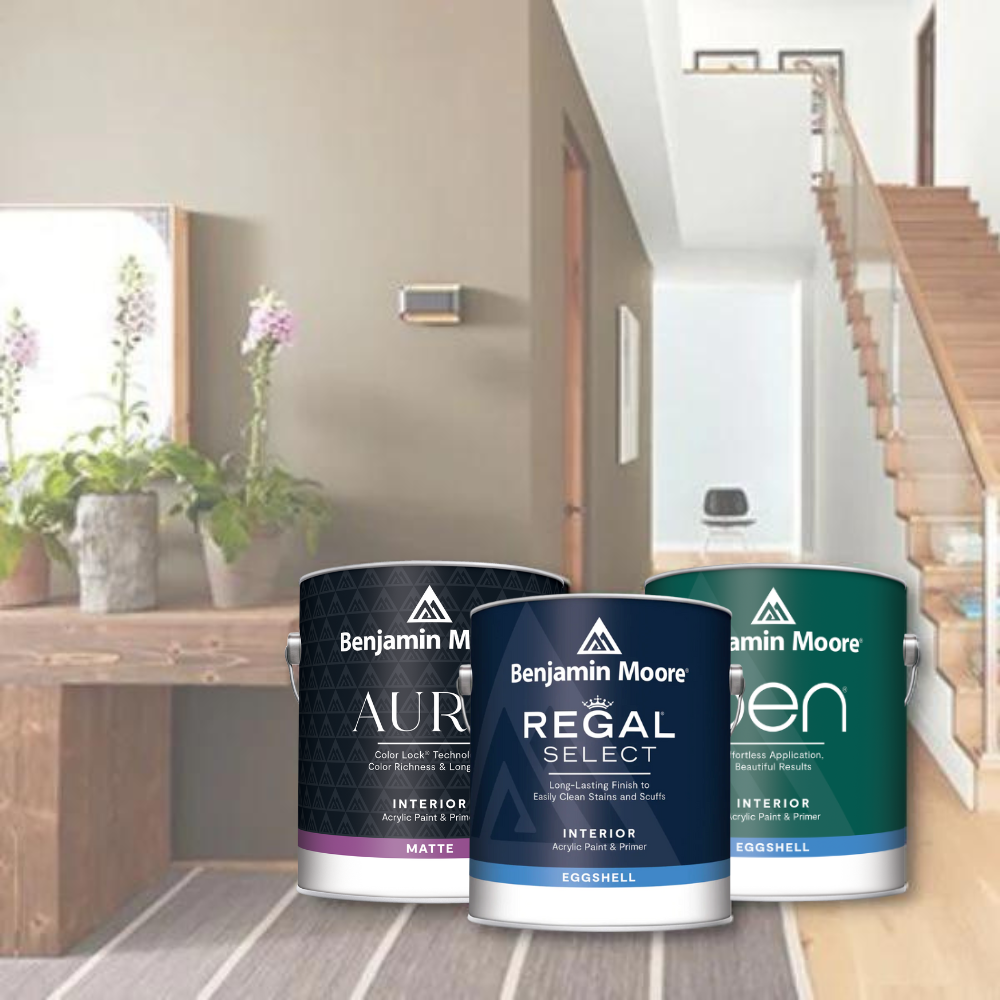
Our top recommendations for priming and painting laminate furniture, especially bathroom cabinets and ikea billy bookcases, are INSL-X STIX Primer and ADVANCE Interior Paint or INSL-X Cabinet Coat. These products are renowned for their quality and resilience when it comes to painting furniture.
If you’re painting in a poorly ventilated area, low-VOC water-based latex paints are a good option to minimize health risks associated with paint fumes. If you’re looking to skip the sanding and priming steps, chalk paint could be a great alternative to latex paint.
The Painting Process: Achieving a Smooth Finish
Once you’ve prepped and primed your furniture, it’s time to color it beautiful. However, painting furniture successfully isn’t just about slapping on some paint. It involves careful application, optional sanding between coats, and allowing enough drying time.
Let’s break down these steps.
Applying the Primer
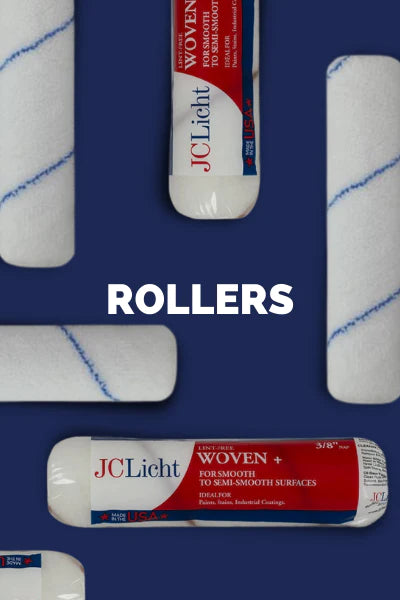
Applying the oil based primer sets the stage for a successful painting job. To achieve an even coat and avoid brush strokes, use a mini roller to apply the primer on larger flat areas of the furniture. For smaller corners and detailed regions, a small angled brush will do wonders, ensuring comprehensive coverage.
After applying the primer, patience is key. Allow the primer to dry for approximately four hours before proceeding to the painting process. This drying time is crucial for achieving a smooth and durable finish.
Painting the Laminate Furniture
With the primed surface ready, it’s time to bring your furniture to life with color. However, don’t rush into applying the second coat of paint. Ensure that the first coat is completely dry before applying the next one. This patience will be rewarded with a finish that’s as smooth as silk and prevents paint peels.
For a professional finish, sand the painted surface until smooth before applying the second coat. Clean the surface with a damp cloth to remove any dust from sanding prior to painting. These small steps can make a significant difference to the final outcome.

Sanding Between Coats (Optional)
Sanding between coats is an optional step that can take your furniture painting project to the next level. This not only removes imperfections but also creates a stronger mechanical bond for the next layer, ensuring a smooth and durable finish.
Use fine-grit sandpaper, like 220 grit, to lightly sand the primed laminate without damaging the smooth surface. Remember to clean the laminate surface after sanding to remove all dust and debris for a clean, defect-free finish.
Allowing the primer to dry completely before sanding is vital to prevent damage and ensure the best results when applying subsequent coats.
Protecting Your Painted Laminate Furniture with a Topcoat (Optional)
After the primer and paint, it’s time to seal the deal. Applying a durable topcoat is essential for ensuring the longevity of your painted laminate furniture, especially in high-traffic areas like kitchens and bathrooms. A topcoat creates a more scrubbable surface, preventing fingerprints and smudges.
Let’s delve into how to apply this protective layer.
Applying the Topcoat
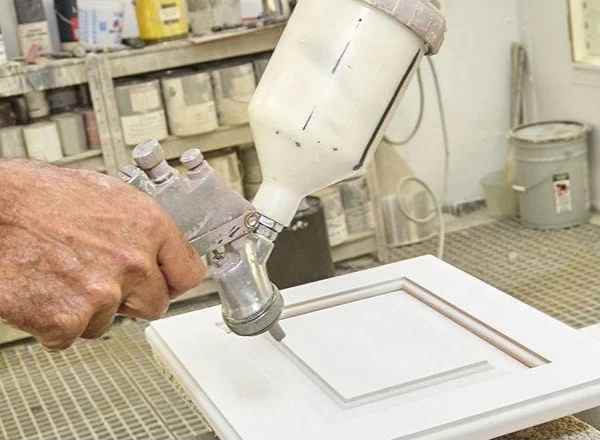
Applying the topcoat is the final step in your painting process. To avoid bubbles in the finish, thoroughly stir the polyurethane before and occasionally during use. For the application, use a high-quality paint brush or a paint sprayer to apply the topcoat evenly.
Remember, thin, even layers are key to a smooth finish. Here are some tips to keep in mind when applying topcoats:
- Allow the topcoat to dry completely between layers.
- Wait for it to fully cure as per the manufacturer’s recommended time before handling the furniture.
- Avoid applying topcoats in very high or low humidity conditions, or in direct sunlight to ensure proper adhesion and drying.
Tips for a Successful Laminate Furniture Painting Project
In addition to the steps outlined above, here are some additional tips to ensure a successful paint laminate furniture project. These range from maintaining proper ventilation during the painting process to allowing adequate drying time and using the right tools.

Proper Ventilation and Drying Time
Ventilation plays a vital role when painting indoors. Make sure to paint in a well-ventilated area to prevent the buildup of fumes and aid in the drying process. If you’re painting during colder weather, use a portable heater to maintain a comfortable room temperature for drying paint.
Remember, patience is a virtue, especially when it comes to drying time. Allow the painted room to dry and air out for at least a few hours after painting. Wait for one day between painting coats on laminate furniture to ensure each coat has dried completely. These drying times are crucial for achieving a smooth and durable finish.
Choosing the Right Tools
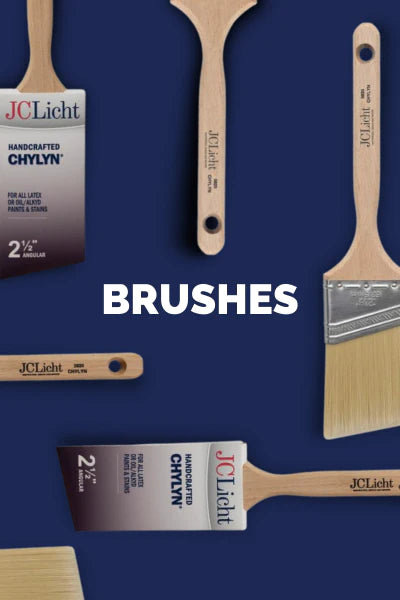
The right tools can make or break your painting project. For water-based paints, synthetic bristle brushes are better than natural bristles, as they do not absorb water and maintain their shape, resulting in a smoother finish. When working with oil based paints, a super smooth roller brush is the best tool for painting large surfaces of laminate furniture.
For intricate areas or tight corners, smaller brushes, foam applicators, or a paint stick are recommended. Don’t forget to use painter’s tape to protect areas that should not be painted and to create clean lines and edges during the painting process.
Summary
So, there you have it - a comprehensive, step-by-step guide to painting laminate furniture like a pro. With the right preparation, the right products, and a bit of patience, you can transform your old laminate furniture into a masterpiece. Remember, the secret to a successful paint job lies in the details. Prep, prime, paint, protect, and presto – you’ve mastered the art of painting laminate furniture! Happy painting!